Quick Start
@aptos-labs/react is a collection of opinionated React hooks for building on top of Aptos. The library focuses on providing a seamless experience for developers to build with the best practices in mind.
Getting Started
Installation
To install Aptos JS-Pro with React hooks, you can use your preferred package manager.
npm install @aptos-labs/ts-sdk @aptos-labs/js-pro @tanstack/react-query @aptos-labs/reactWith Wallet Adapter (Recommended)
For most use cases, you will want to install the @aptos-labs/wallet-adapter-react package to manage your wallet connections. In this guide, we will assume you are using the
wallet adapter.
npm install @aptos-labs/wallet-adapter-reactSetting up Providers
To utilize Aptos JS-Pro across your application, you will need to set up your providers in order to manage your network and account connections.
AptosWalletAdapterProvider from @aptos-labs/wallet-adapter-react (Recommended)
Begin by wrapping your application in the AptosWalletAdapterProvider component. This will provide your application with the necessary context to manage your wallet connections.
import { PropsWithChildren } from "react";
import { AptosWalletAdapterProvider } from "@aptos-labs/wallet-adapter-react";

export default function App({ children }: PropsWithChildren) {
  return <AptosWalletAdapterProvider>{children}</AptosWalletAdapterProvider>;
}
QueryClientProvider from @tanstack/react-query
Next, wrap your application in the QueryClientProvider component from @tanstack/react-query. This will provide your application with the necessary context to manage your queries.
import { PropsWithChildren } from "react";
import { AptosWalletAdapterProvider } from "@aptos-labs/wallet-adapter-react";
import { QueryClient, QueryClientProvider } from "@tanstack/react-query";

const queryClient = new QueryClient();

export default function App({ children }: PropsWithChildren) {
  return (
    <QueryClientProvider client={queryClient}>
      <AptosWalletAdapterProvider>{children}</AptosWalletAdapterProvider>
    </QueryClientProvider>
  );
}
AptosJSCoreProvider from @aptos-labs/react
The final step is to wrap your application in the AptosJSCoreProvider component from @aptos-labs/react. In order to do so, you will need to create a custom component
that takes the connection information from the AptosWalletAdapterProvider and passes it to the AptosJSCoreProvider.
import { PropsWithChildren } from "react";
import { AptosJSCoreProvider } from "@aptos-labs/react";
import { useWalletAdapterCore } from "@aptos-labs/react/connectors";
import { useWallet } from "@aptos-labs/wallet-adapter-react";

export default function AptosCoreProvider({ children }: PropsWithChildren) {
  const wallet = useWallet();

  const core = useWalletAdapterCore({ wallet });

  return <AptosJSCoreProvider core={core}>{children}</AptosJSCoreProvider>;
}
Once you have created the AptosCoreProvider, you can wrap your application with it.
import { PropsWithChildren } from "react";
import { AptosWalletAdapterProvider } from "@aptos-labs/wallet-adapter-react";
import { QueryClient, QueryClientProvider } from "@tanstack/react-query";
import { AptosCoreProvider } from "./AptosCoreProvider";
const queryClient = new QueryClient();
export default function App({ children }: PropsWithChildren) {
return (
<QueryClientProvider client={queryClient}>
<AptosWalletAdapterProvider>
<AptosCoreProvider>{children}</AptosCoreProvider>
</AptosWalletAdapterProvider>
</QueryClientProvider>
);
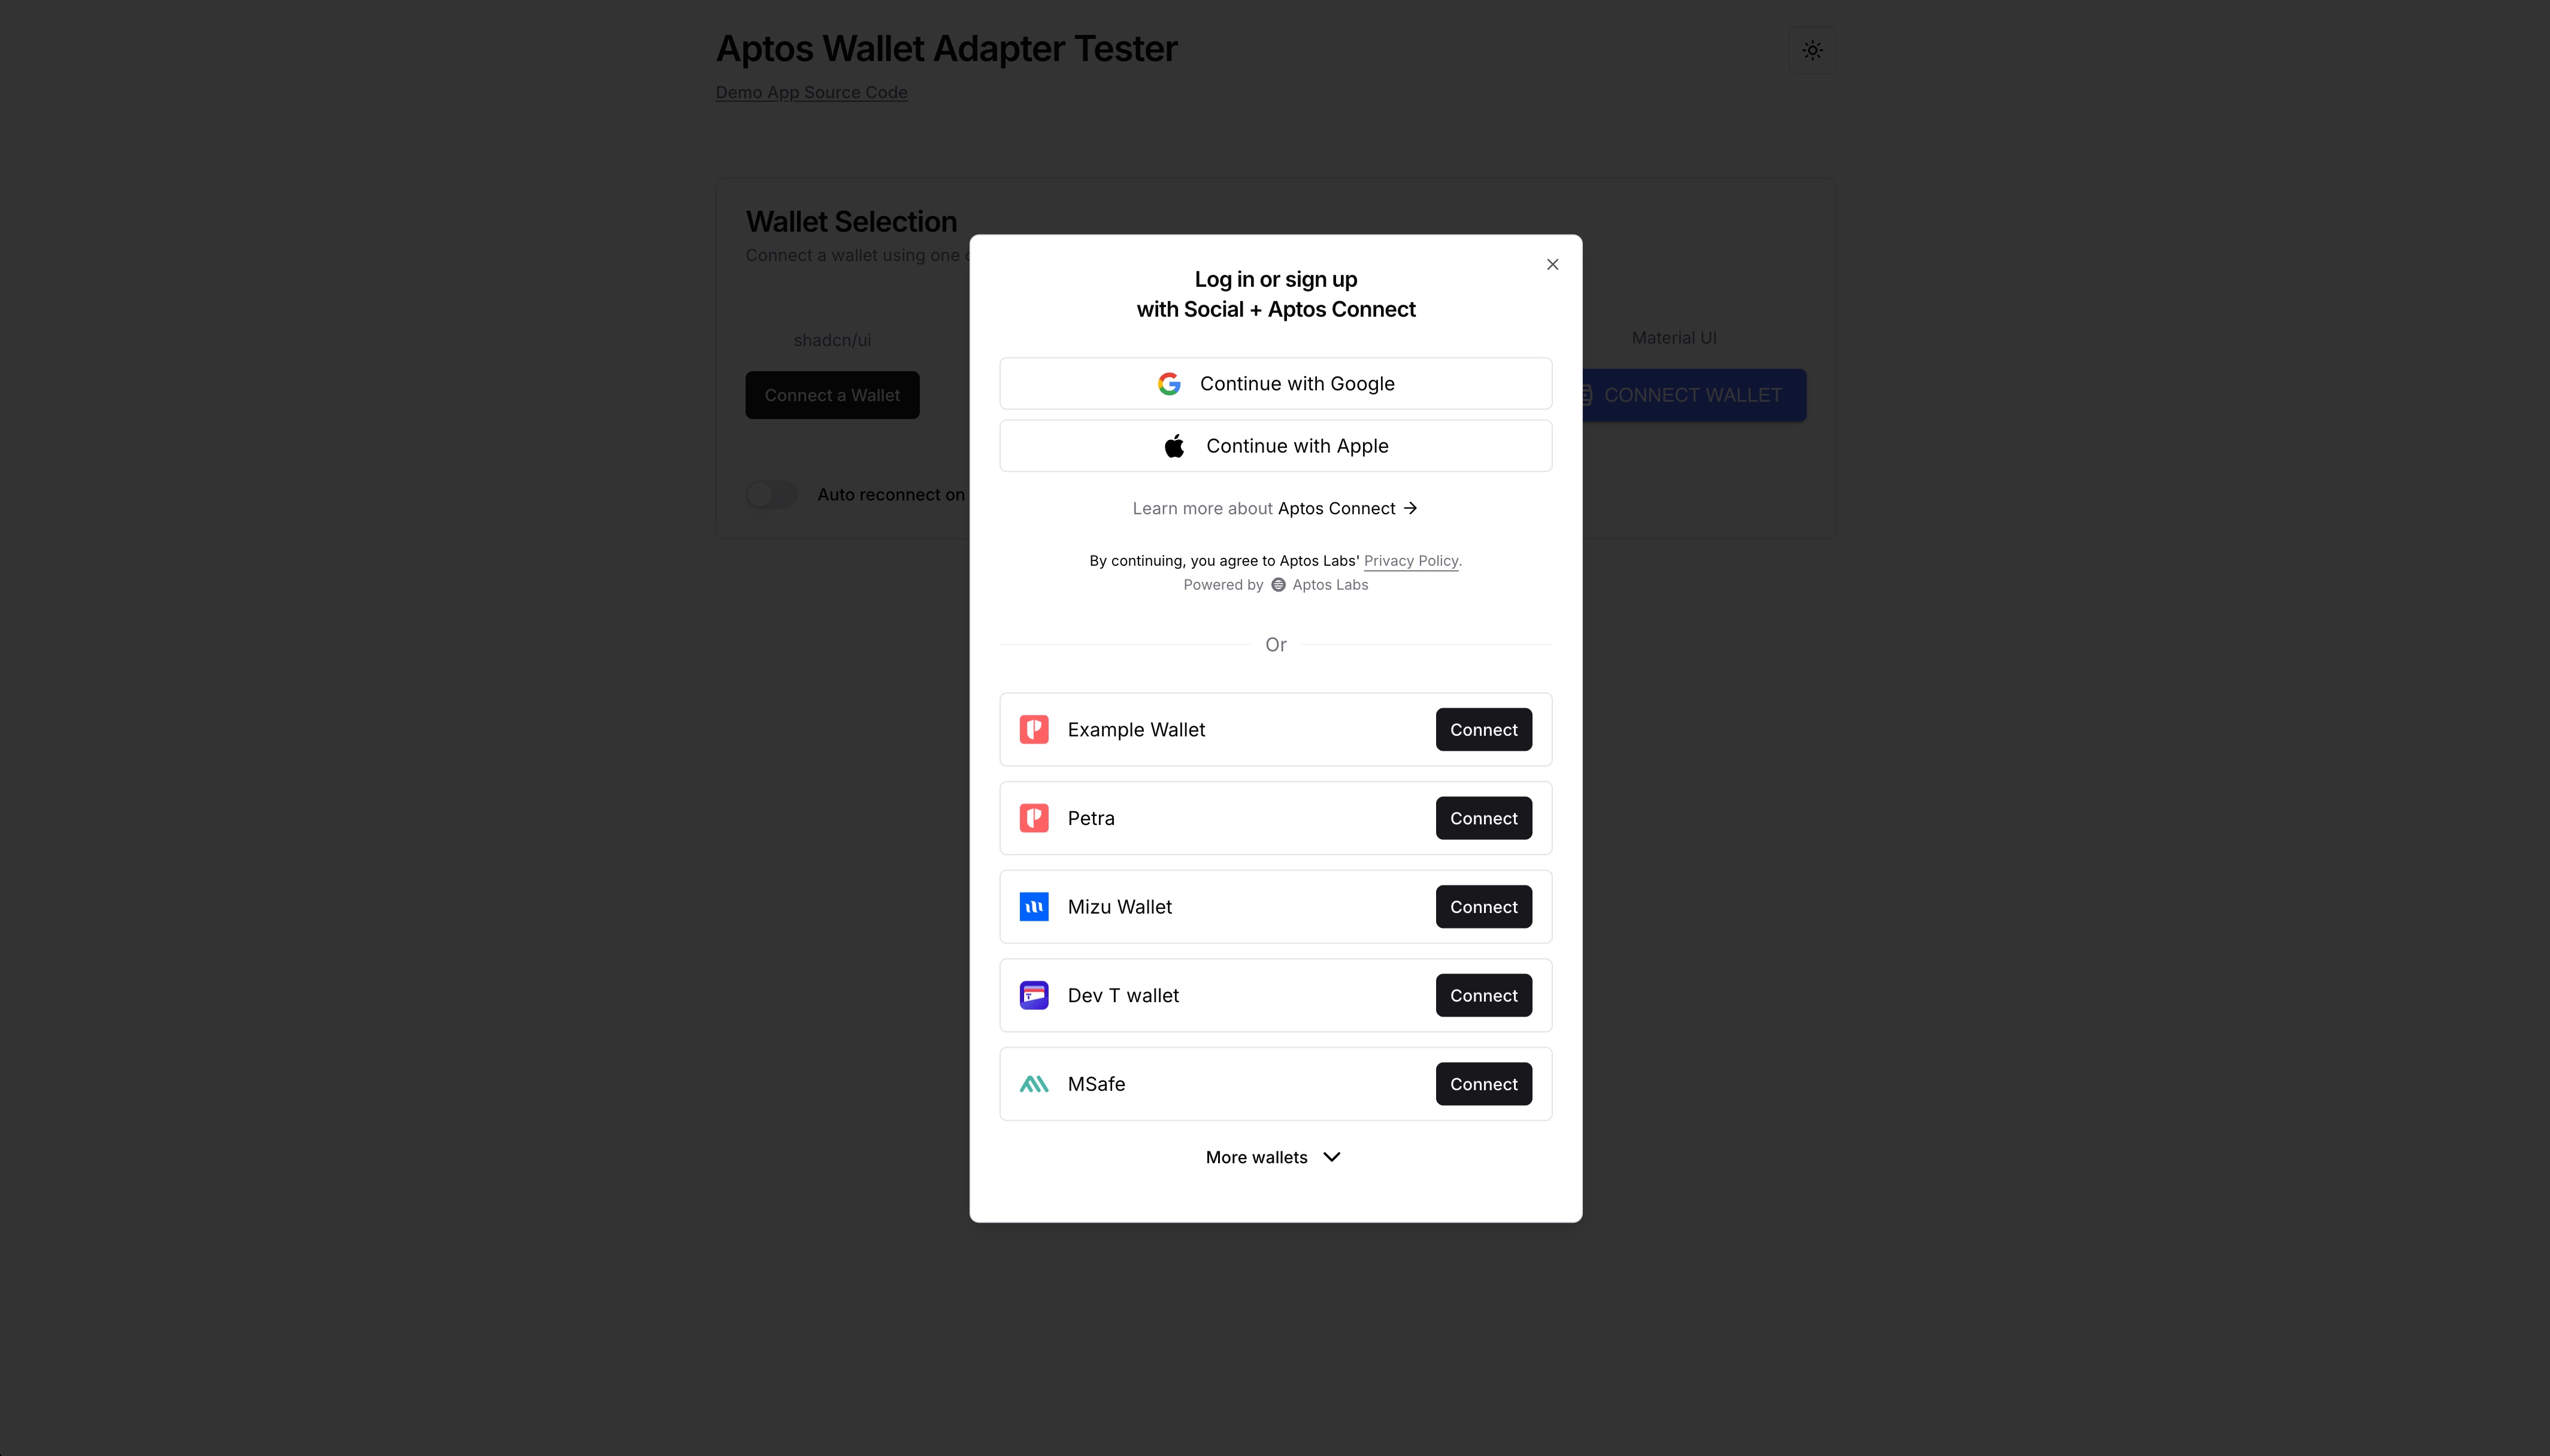
}Wallet Selector (recommended)
Once you have set up the providers, we also recommend adding a wallet selector UI to your application. A wallet selector is a component that allows a user to select their wallet of choice. Whenever a user connects their wallet, the wallet adapter should automatically connect the wallet to your JS-Pro context.
You can follow this guide to setup a wallet selector for your application: Using a Wallet Selector UI .
You’re all set!
Now that you have your providers set up, you can start using Aptos JS-Pro React hooks. With Aptos JS-Pro React, you gain access to a collection of opinonated hooks that are reactive, tested, and ready to use out of the box. Create your first Aptos application in minutes!
Querying the Blockchain
The useAptBalance hook is a simple hook that queries the Aptos blockchain for the balance of an account.
import { useAptBalance } from "@aptos-labs/react";

export default function Home() {
  const { data: aptBalance, isLoading } = useAptBalance();

  if (isLoading) return <div>Loading...</div>;

  return <div>{aptBalance?.toString()}</div>;
}
Signing and Submitting Transactions
The useSignAndSubmitTransaction hook is a hook that signs and submits a transaction to the Aptos blockchain.
import { useSignAndSubmitTransaction, parseApt } from "@aptos-labs/react";

function SendTransactionPage() {
  const { hash, signAndSubmitTransaction } = useSignAndSubmitTransaction();

  async function submit(e: React.FormEvent<HTMLFormElement>) {
    e.preventDefault();
    const formData = new FormData(e.target as HTMLFormElement);
    const address = formData.get("address") as `0x${string}`;
    const value = formData.get("value") as string;
    signAndSubmitTransaction({
      data: {
        function: `0x1::aptos_account::transfer`,
        functionArguments: [address, parseApt(amount)],
      },
    });
  }

  return (
    <form onSubmit={submit}>
      <input name="address" placeholder="0x1…e918" required />
      <input name="value" placeholder="0.1" required />
      <button type="submit">Send</button>
      {hash && <div>Transaction Hash: {hash}</div>}
    </form>
  );
}